Add to Project
Let’s say that you have your own API and you want to run ScanAPI on your pipeline to test it. This is the scenario:
- - Every time a code is merged into the
mainbranch, the API is deployed on staging environment. Ex:https://your-api.staging.com - - Right after the previously deploy is done, you want to run ScanAPI against your staging API.
It is not recommended to run ScanAPI directly on production, since it hits the API’s endpoints and it will, in fact, change the production database if any write operation is performed. If you still want/need to test your API on production environment, we encourage to use specific test accounts for that.
This is the folder structure:
- your_api (directory containing all files of your API)
|── api_file_1
|── api_file_2
|── api_file_3
|── ...
|___  scanapi
      |── csv_template.jinja
      |── scanapi-report.csv
      |── scanapi-report.html
      |── scanapi.conf
      |___  scanapi.yaml
Let’s see how to implement this pipeline using two different CI options:
GitHub Action
Assuming that you have already your API’s code in a GitHub repository, the first step is to create
a new file in the .github/workflows directory named scanapi-action.yaml. The folder structure
should look like this:
- your_api (directory containing all files of your API)
|── .github
    |___  workflows
        |___  scanapi-action.yaml
|── api_file_1
|── api_file_2
|── api_file_3
|── ...
|___  scanapi
      |── csv_template.jinja
      |── scanapi-report.csv
      |── scanapi-report.html
      |── scanapi.conf
      |___  scanapi.yaml
Copy the following YAML contents into the scanapi-action.yaml file:
name: Document and Test
on:
  push:
    branches: [main]

jobs:
  deploy-on-staging:
    runs-on: ubuntu-latest
    steps:
      - run: echo "Your staging deploy action here!"
  scanapi:
    runs-on: ubuntu-latest
    steps:
      - uses: actions/checkout@v2
      - name: Run automated API tests
        uses: scanapi/github-action@v1
        with:
          scanapi_version: '==2.3.0'
          arguments: run ./scanapi/scanapi.yaml -c ./scanapi/scanapi.conf -o ./scanapi/scanapi-report.html
      - name: Upload scanapi-report.html
        uses: actions/upload-artifact@v2
        if: ${{ always() }}
        with:
          name: ScanAPI Report
          path: ./scanapi/scanapi-report.html
    needs: [deploy-on-staging]
If you would try to run this action, you would receive the following error:
Error to make request `http://demo.scanapi.dev/api/v1/rest-auth/login/`.
'USER' environment variable not set or badly configured
This happens because you didn’t set the environment variables USER and PASSWORD in your
GitHub repository. Follow these steps to create the missing env vars:
Now, let’s change scanapi-action.yaml to access the secrets you’ve just created:
name: Document and Test
on:
  push:
    branches: [main]

jobs:
  deploy-on-staging:
    runs-on: ubuntu-latest
    steps:
      - run: echo "Your staging deploy action here!"
  scanapi:
    runs-on: ubuntu-latest
    steps:
      - uses: actions/checkout@v2
      - name: Run automated API tests
        uses: scanapi/github-action@v1
        env:
          USER: ${{ secrets.USER }} # this is new
          PASSWORD: ${{ secrets.PASSWORD }} # this is new
        with:
          scanapi_version: '==2.3.0'
          arguments: run ./scanapi/scanapi.yaml -c ./scanapi/scanapi.conf -o ./scanapi/scanapi-report.html
      - name: Upload scanapi-report.html
        uses: actions/upload-artifact@v2
        if: ${{ always() }}
        with:
          name: ScanAPI Report
          path: ./scanapi/scanapi-report.html
    needs: [deploy-on-staging]
It is time to run your action, it should work now! 🎉
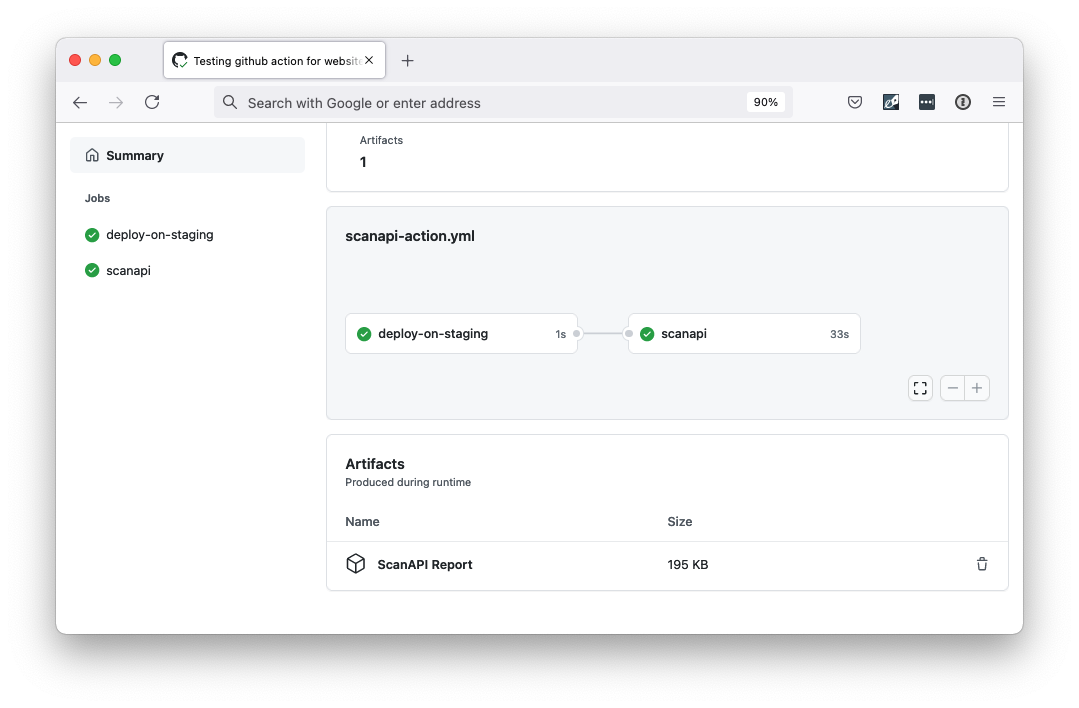
Note that the scanapi job only starts after the deploy-on-staging ends:
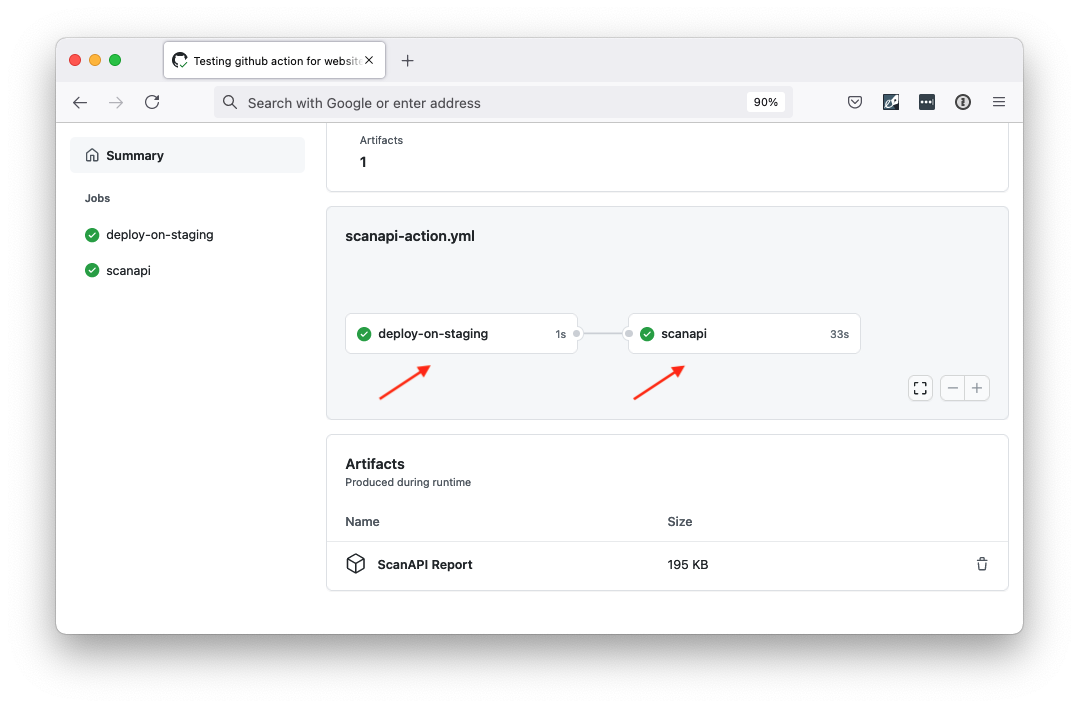
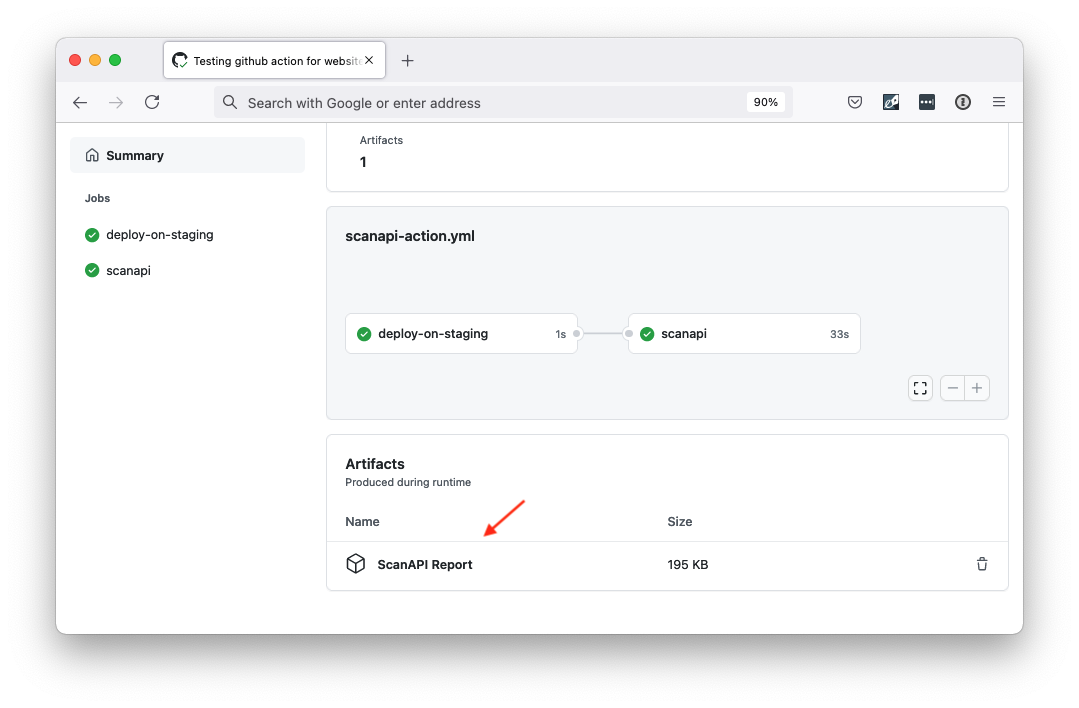
Inside the Artifacts section, click in the ScanAPI Report to access the results:
Usually, it is recommend to have a separated file with the deploy job. We kept it inside the scanapi action for demo purposes.
For more GitHub Actions information, please check the GitHub Actions Official Documentation. For more about the ScanAPI GitHub action, check it at the GitHub Marketplace.
CircleCI
Assuming that you API’s code is in a GitHub/Bitbucket repository and you have already a
CircleCI Account, create a new file in the .circleci directory named config.yml.
The folder structure should look like this:
- your_api (directory containing all files of your API)
├── .circleci
    |___  config.yml
|── api_file_1
|── api_file_2
|── api_file_3
|── ...
|___  scanapi
      |── csv_template.jinja
      |── scanapi-report.csv
      |── scanapi-report.html
      |── scanapi.conf
      |___  scanapi.yaml
Copy the following YAML contents into the config.yml file:
version: 2.1

workflows:
  main:
    jobs:
      - deploy-on-staging:
          filters:
              branches:
                only:
                  - main
      - scanapi:
          requires:
            - deploy-on-staging
          filters:
            branches:
              only:
                - main

jobs:
  deploy-on-staging:
    docker:
      - image: cimg/node:14.10.1
    steps:
      - run: echo "Your staging deploy job here!"
  scanapi:
    docker:
      - image: camilamaia/scanapi:2.3.0
    steps:
      - checkout
      - run:
          name: Run ScanAPI
          command: |
            scanapi run scanapi/scanapi.yaml -c scanapi/scanapi.conf -o scanapi/report.html
      - store_artifacts:
          path: scanapi/report.html
Save, commit and push your changes to your main branch.
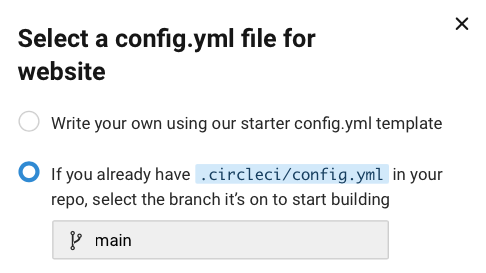
Setup your repo into CircleCI, using the already using the already created
config.yml file.
If you would try to run this workflow, you would receive the following error:
Error to make request `http://demo.scanapi.dev/api/v1/rest-auth/login/`.
'USER' environment variable not set or badly configured
This happens because you didn’t set the environment variables USER and PASSWORD in your
CircleCI Project. Follow these steps to create the missing env vars:
Now, let’s change config.yml to access the env variables you’ve just created:
version: 2.1

workflows:
  main:
    jobs:
      - deploy-on-staging:
          filters:
              branches:
                only:
                  - main
      - scanapi:
          requires:
            - deploy-on-staging
          filters:
            branches:
              only:
                - main

jobs:
  deploy-on-staging:
    docker:
      - image: cimg/node:14.10.1
    steps:
      - run: echo "Your staging deploy job here!"
  scanapi:
    docker:
      - image: camilamaia/scanapi:2.3.0
        environment:
            USER: $USER
            PASSWORD: $PASSWORD
    steps:
      - checkout
      - run:
          name: Run ScanAPI
          command: |
            scanapi run scanapi/scanapi.yaml -c scanapi/scanapi.conf -o scanapi/report.html
      - store_artifacts:
          path: scanapi/report.html
It is time to run your workflow, it should work now! 🎉
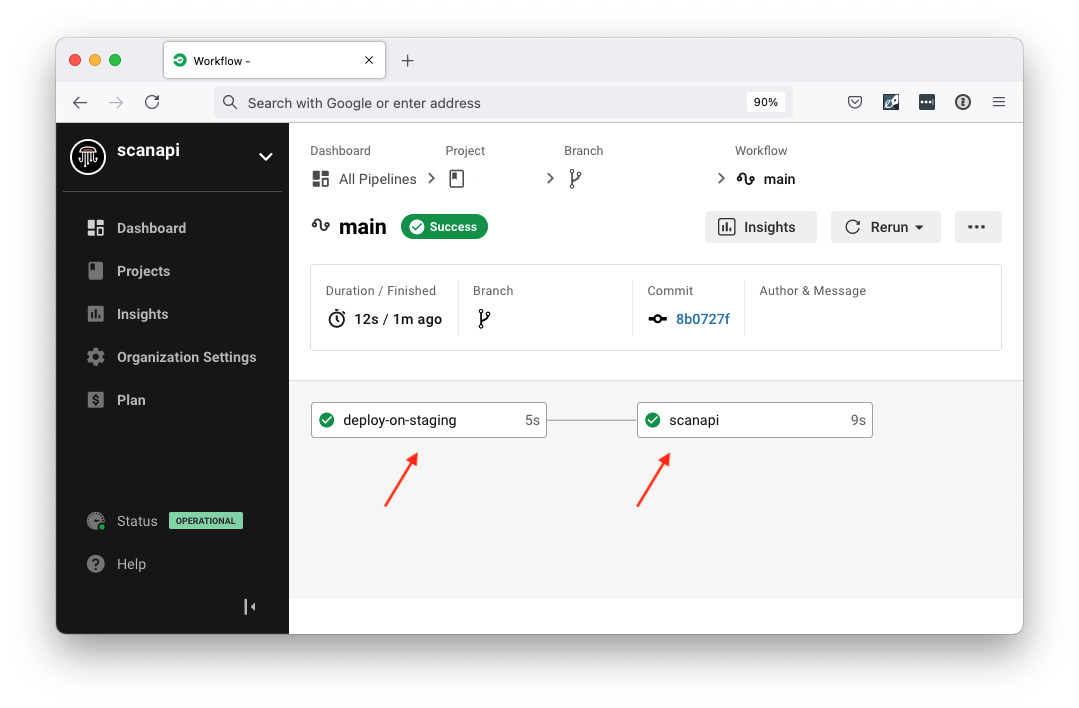
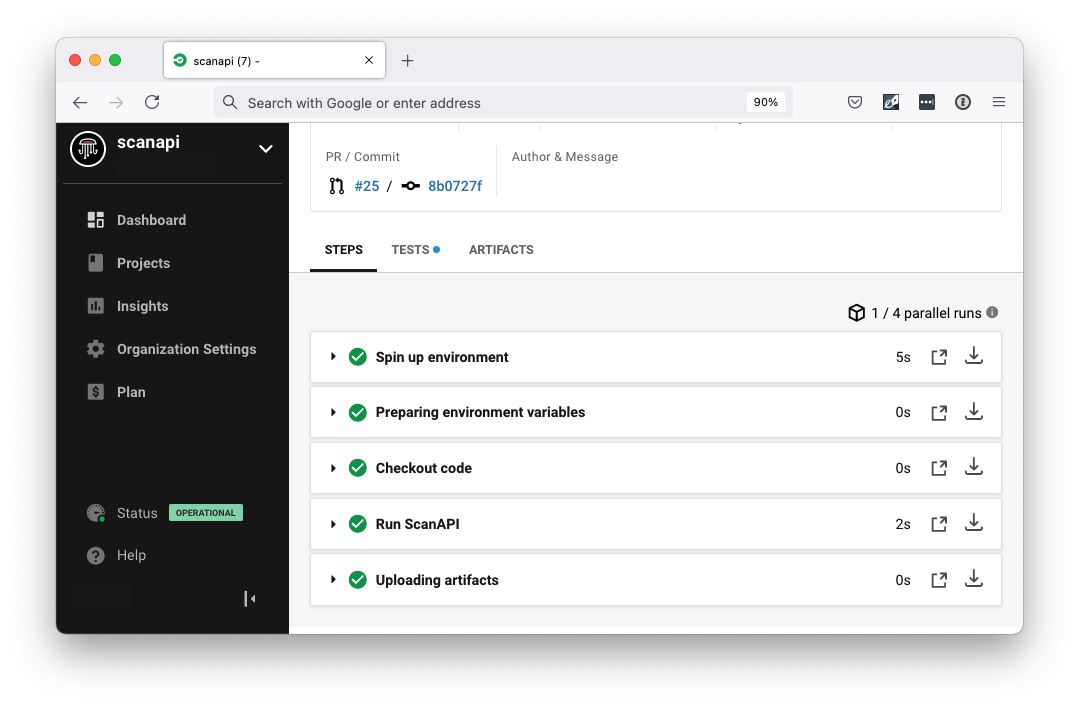
Note that the scanapi job only starts after the deploy-on-staging ends:
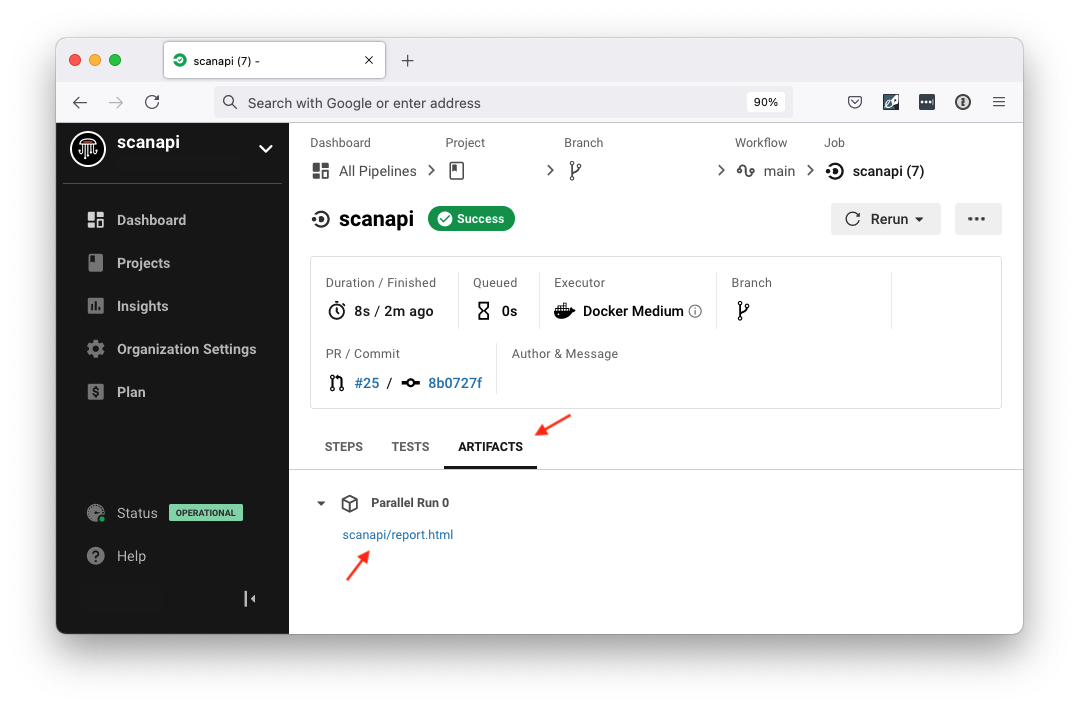
Inside the Artifacts tab, click in the scanapi/report.html to access the results:
For more CircleCI information, please check the CircleCI Official Documentation. For more about the ScanAPI Docker Image, check it at DockerHub.
That is it! Congratulations, you covered the whole ScanAPI tutorial! If you have any suggestions, if there is any missing information or if you found any error in this tutorial, feel free to open an issue on our website repository.
We thank you for using and supporting ScanAPI ❤️
Read more: Official ScanAPI Documentation