Run ScanAPI
It’s time to make ScanAPI work! Create a new directory for ScanAPI files and name it whatever you want. Through the rest of this tutorial we’ll refer to this directory as root.
For example:
$ mkdir scanapi
Let’s add your ScanAPI spec. Create scanapi.yaml in root with the following content:
endpoints:
  - name: snippets-api
    path: https://demo.scanapi.dev/api/v1/
    headers:
      Content-Type: application/json
    requests:
      - name: health
        method: get
        path: /health/
The folder structure should look like this now:
- scanapi (root directory)
└── scanapi.yaml
And let’s run ScanAPI, so it will hit and document the specified endpoint:
$ scanapi run
From the output of the command, you can see that ScanAPI:
INFO Loading file scanapi.yaml # loads the specification file you created
- Making request GET https://demo.scanapi.dev/api/v1/health/ # makes a GET request to the /health path
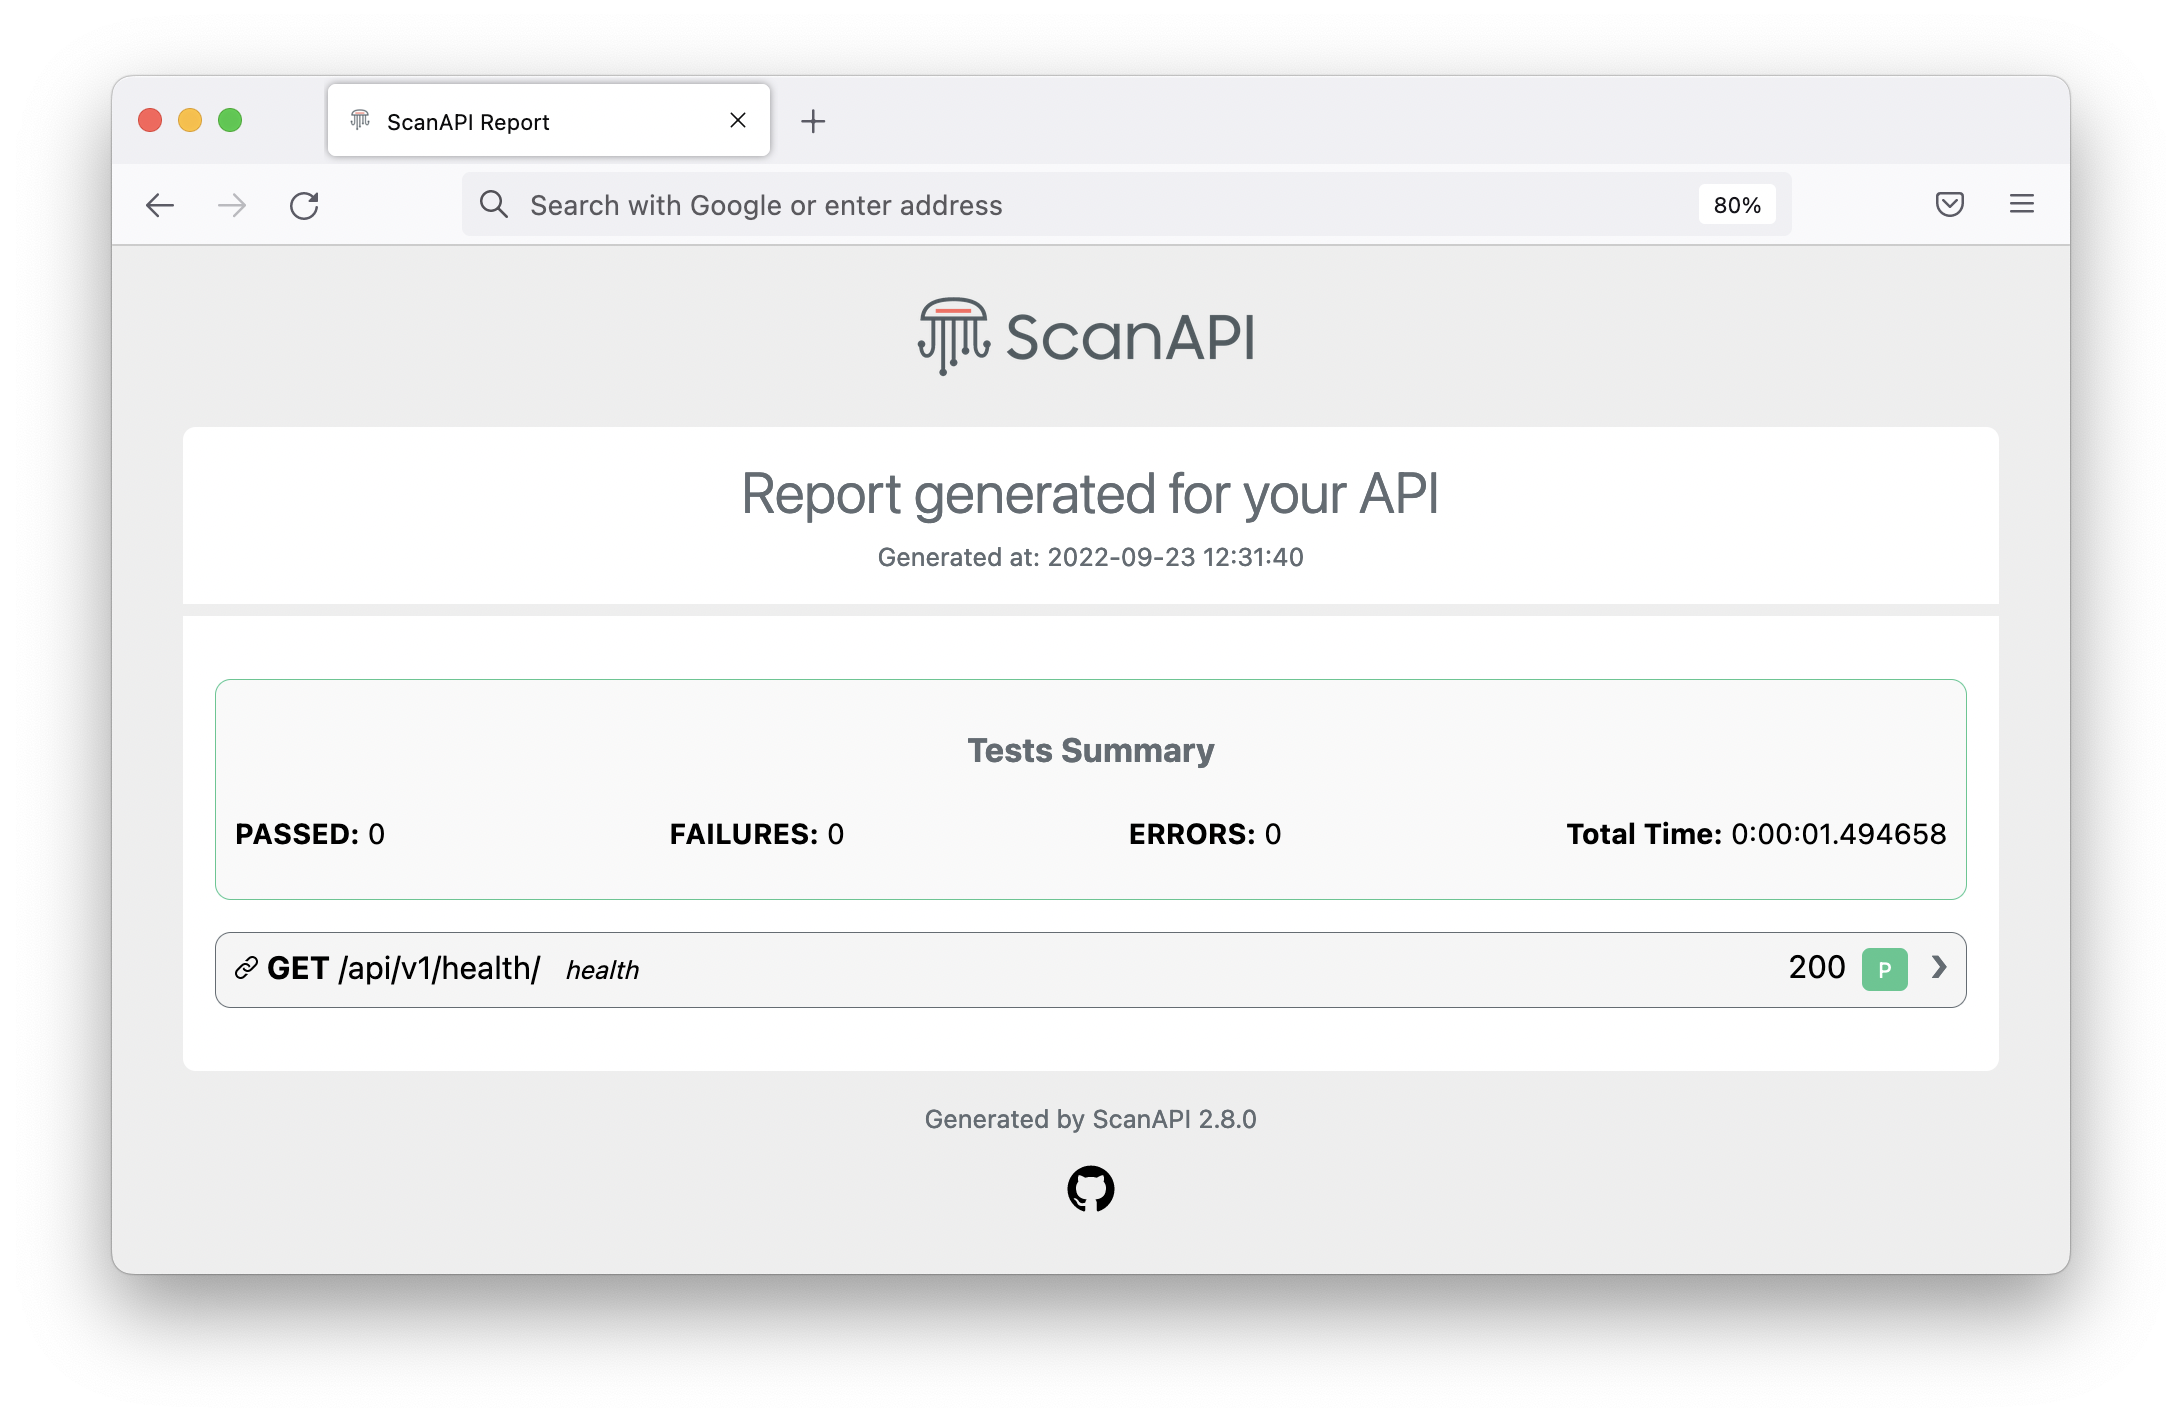
The documentation was generated successfully.
It is available at -> <your_root_path>/scanapi-report.html # generates the API documentation
It is time to check the results! Open the generated file scanapi-report.html in your browser.
Expand the request component to see more details. First, the details of the request itself:
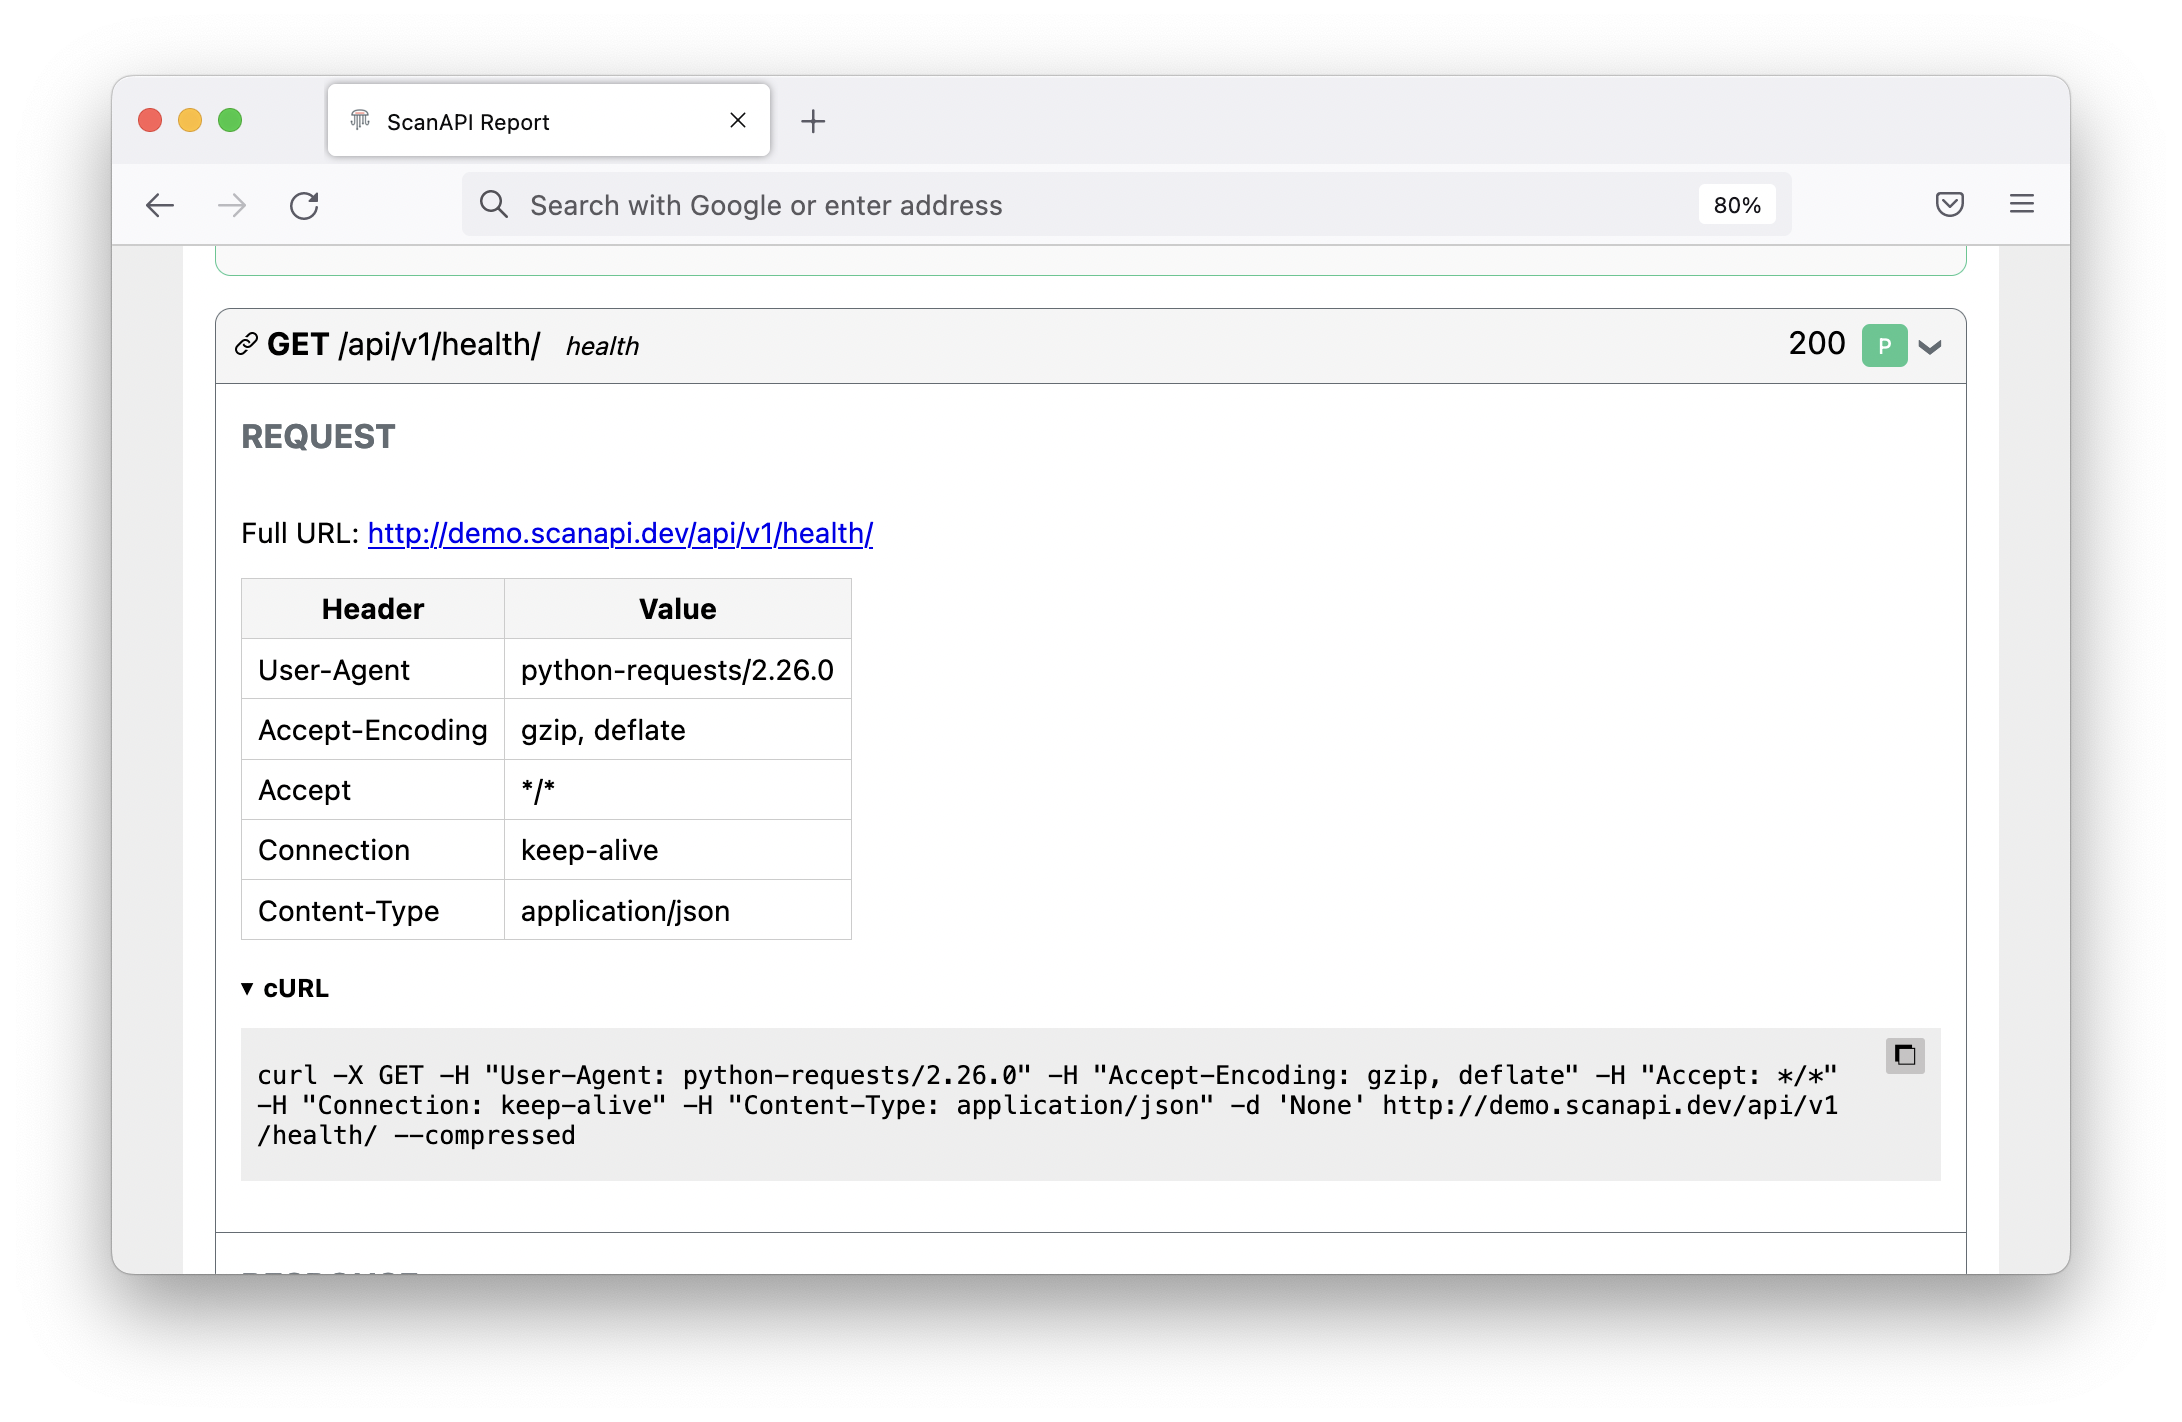
The cURL section helps you to simulate manually the same request using the command line. You can copy its content and run it in your terminal to see the same results:
curl -X GET \
-H "User-Agent: python-requests/2.24.0" \
-H "Accept-Encoding: gzip, deflate" \
-H "Accept: */*" \
-H "Connection: keep-alive" \
-H "Content-Type: application/json" \
-d 'None' https://demo.scanapi.dev/api/v1/health/ --compressed
And then, the response details:
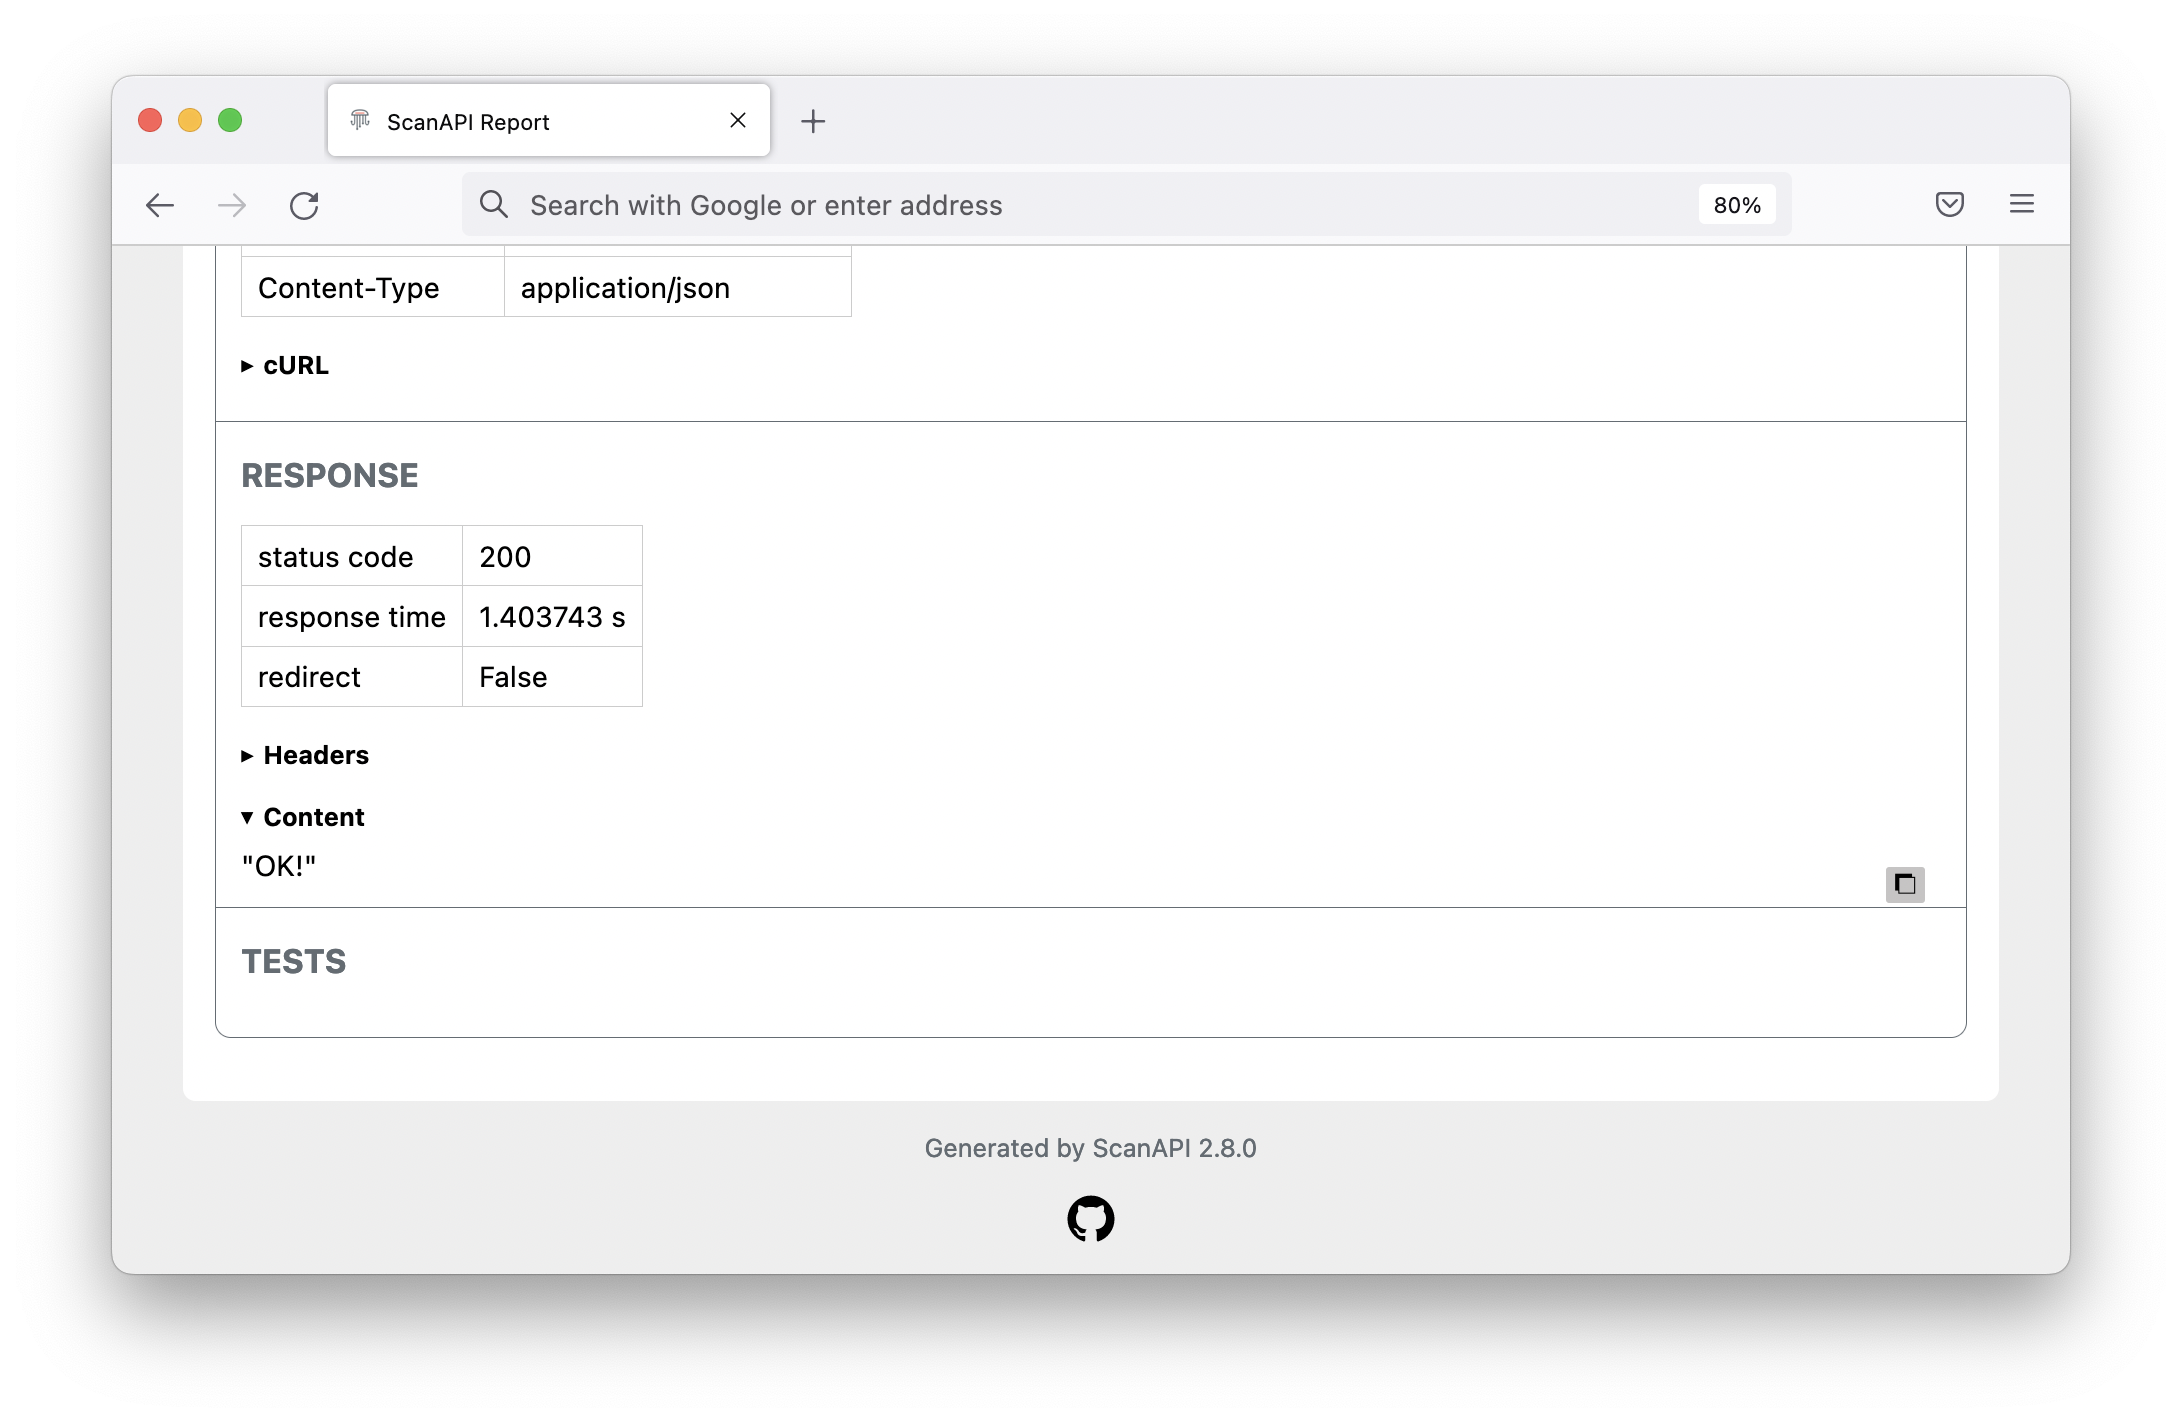
The content section shows probably what you were searching for, the content result of you request:
"OK"!
Note that TESTS is empty for now. This happens because we did not write any tests for the request
yet. Let’s solve it, let’s write some tests!